

Exploring Freelancing
Navigate freelancing as a developer; find clients, manage contracts, ensure timely payment, and learn from experiences!
You might be aware of the fact that SwiftUI only supports a List, but nothing
like a collectionView natively. I have been learning about Combine and thought
of trying to implement something similar.
Here’s the demo project to start with.
When you open the project, go and explore the 18 pleasing landscapes, named as
noaa[number] for the sake of simplicity.
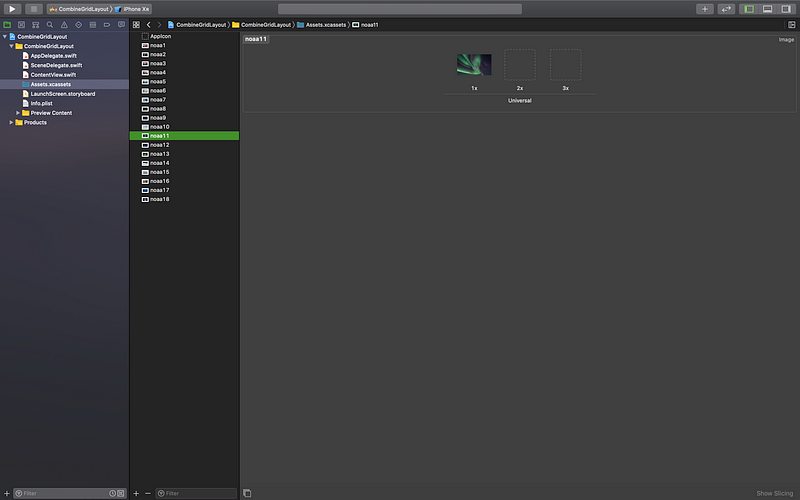
Shoutout to NOAA, National Oceanic and Atmospheric Administration, for such beautiful pictures.
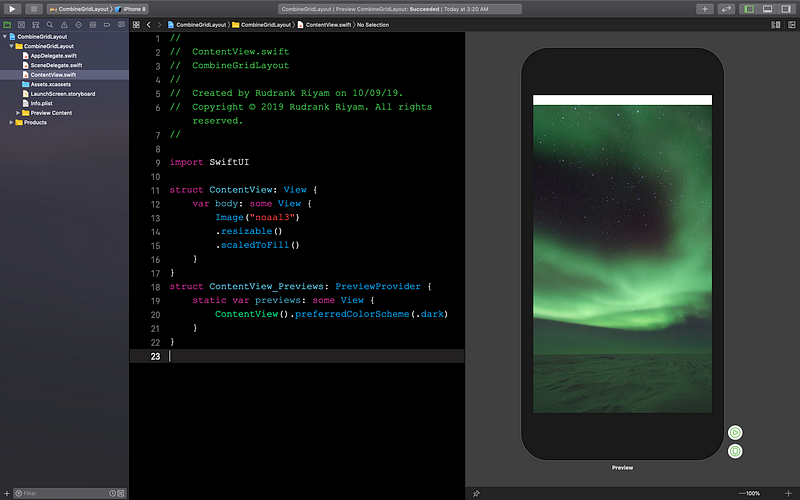
Open ContentView.swift. You will see an amazing image of aurora
australis.
Let’s start our journey of designing a grid layout using Combine!
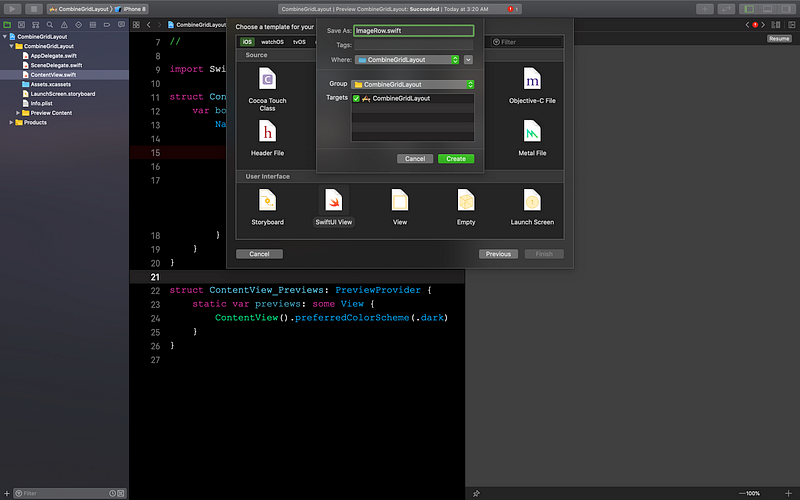
First, we will create another View for the grid. Create a new file with the
name ImageRow of type SwiftUI View.
Time to understand the logic behind the grid.
- We will have one
ForEachloop for the columns and, inside that, we will have another loop for the rows. Think of it as a 2D array. - For example, we have a sequence of numbers, 1,2,3,4,5,6. We want to divide the numbers into two columns, so that 1 and 2 are together in one row, 3 and 4 in another, and 5 and 6 in the last row.
- So, we will divide the sequence of numbers in a way that we get chunks** **of them.
Coding
Time to code it out.
The sequence can be anything, from the name of the images to normal text. Here, we are considering the integer numbers for the NOAA images.
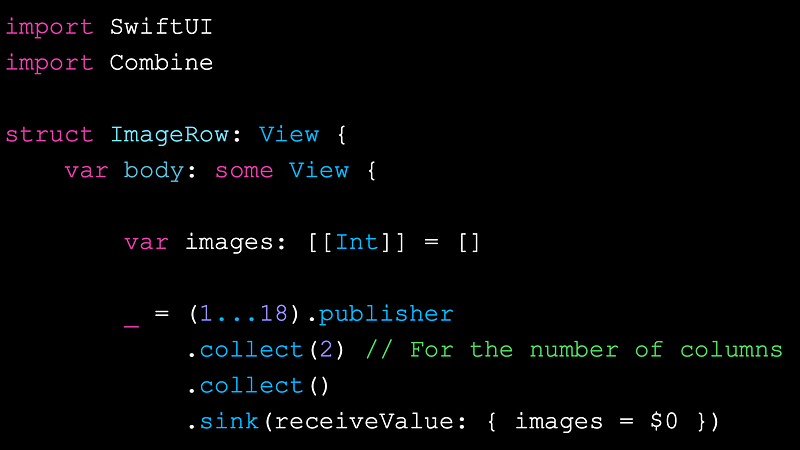
We will create an empty 2D array to store the chunked** **values.
var images: [[Int]] = []Then, create a publisher of integers. In this case, we have 18 images, so:
_ = (1...18).publisherThe magic for the logic arrives. We will use the collect()** **instance
method. Quoting from Apple’s documentation:
“Collects all received elements, and emits a single array of the collection when the upstream publisher finishes.”
You can specify the number of values you want the collection to limit to, and we will use it for specifying the number of columns. This gives us a stream of array chunks.
.collect(2) // Creating two columns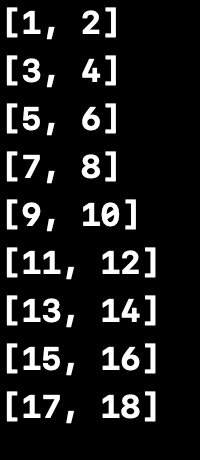 The two columns
Now, we need to have these arrays of rows in a single 2D array. We will have another collect()** **method to get all the values in a single stream.
.collect() The stream in one single 2D array
Note: collect() uses an unbounded amount of memory to store the received
values.
Use the sink(receiveValue:) subscriber to get the whole 2D array from the
publisher. Store the subscription in the images variable.
.sink(receiveValue: { images = $0 })The whole code should look like this:
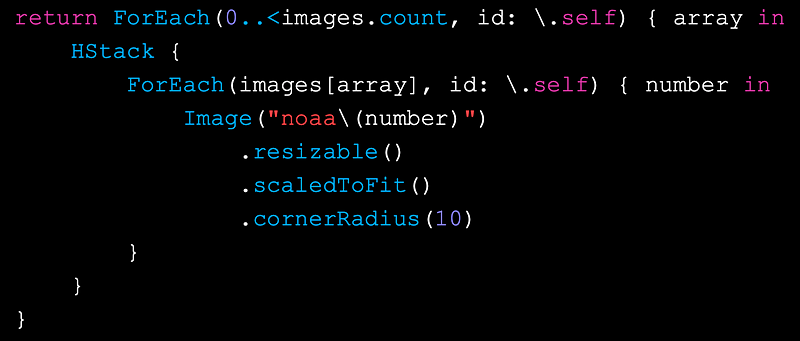
Time to write the nested ForLoop implementation. It is pretty straightforward
from now.
First, we will have a ForEach loop for the number of rows. Iterate from zero
to the number of sub-arrays in images, i.e. the number of rows.
return ForEach(0..<images.count, id: \.self) { array inThen, inside the loop, add an HStack for the row elements. Iterating through
each sub-array gives us the number for the image. Modify the image as per your liking.
HStack {
  ForEach(images[array], id: \.self) { number in
    Image(“noaa\(number)”)
      .resizable()
      .scaledToFit()
      .cornerRadius(10)
  }
}
In the end, your code should look like this:
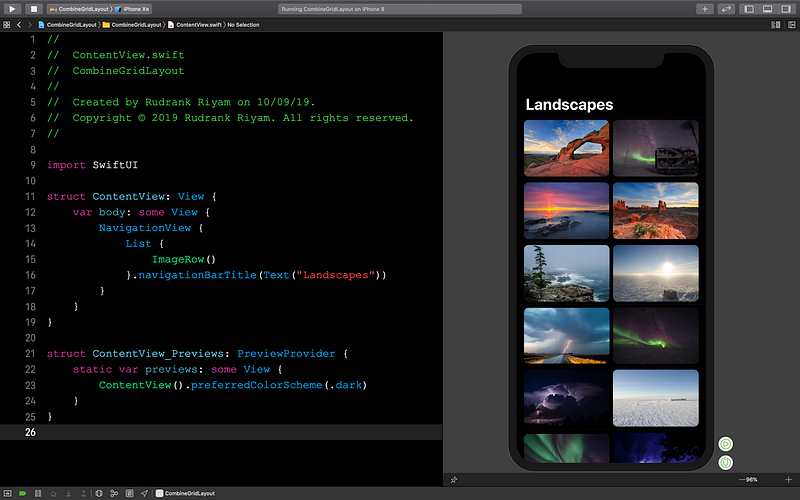
In ContentView.swift,** **remove the image with the modifiers and add the
ImageRow inside a List with a navigationView for a nice title bar.
NavigationView {
  List {
    ImageRow()
  }
  .navigationBarTitle(Text("Landscapes"))
}
Running the project gives a beautiful grid of landscapes.
Exploring Freelancing
Navigate freelancing as a developer; find clients, manage contracts, ensure timely payment, and learn from experiences!