Exploring Freelancing
Navigate freelancing as a developer; find clients, manage contracts, ensure timely payment, and learn from experiences!
If you are familiar with working with iOS apps, you usually set the root view controller as the tab bar controller. Each view in the tab bar controllers gets its navigation view/controller, and the tab bar remains at the top of the hierarchy.
Things are different on the tvOS side, though.
Navigation on tvOS
From the session on SwiftUI on All Devices dating back to WWDC 2019, the best practices for tvOS are very different from what we are used to for the Mac or iPhone.
While there are deeply nested navigation stacks on iOS or even macOS, having the content visible as forward as possible for the browsing experience is a better way.
For the screen size of an iPhone, it makes sense to navigate to more inner views. However, for the widescreen of a TV, you can take advantage of putting the content on the same page instead of the user navigating through different pages.
The TabView acts as the primary navigation for many tvOS apps, and you may structure it inside one single NavigationView:
struct SampleView: View {
    var body: some View {
        NavigationView { // <-- AT THE TOP
            TabView {
                Text("Tags")
                    .tabItem { Label("Tags", systemImage: "tag.fill") }
                Text("Settings")
                    .tabItem { Label("Settings", systemImage: "gear") }
            }
        }
    }
}
While on iOS, the TabView acts as the root view with each tab view having its own NavigationView; on tvOS, you can have the NavigationView as the main view.
The idea is that when your users navigate deeper into a view, the top bar disappears for giving the full-screen experience. On iOS, the HIG recommends showing the tab bar in the child views.
Navigation Example
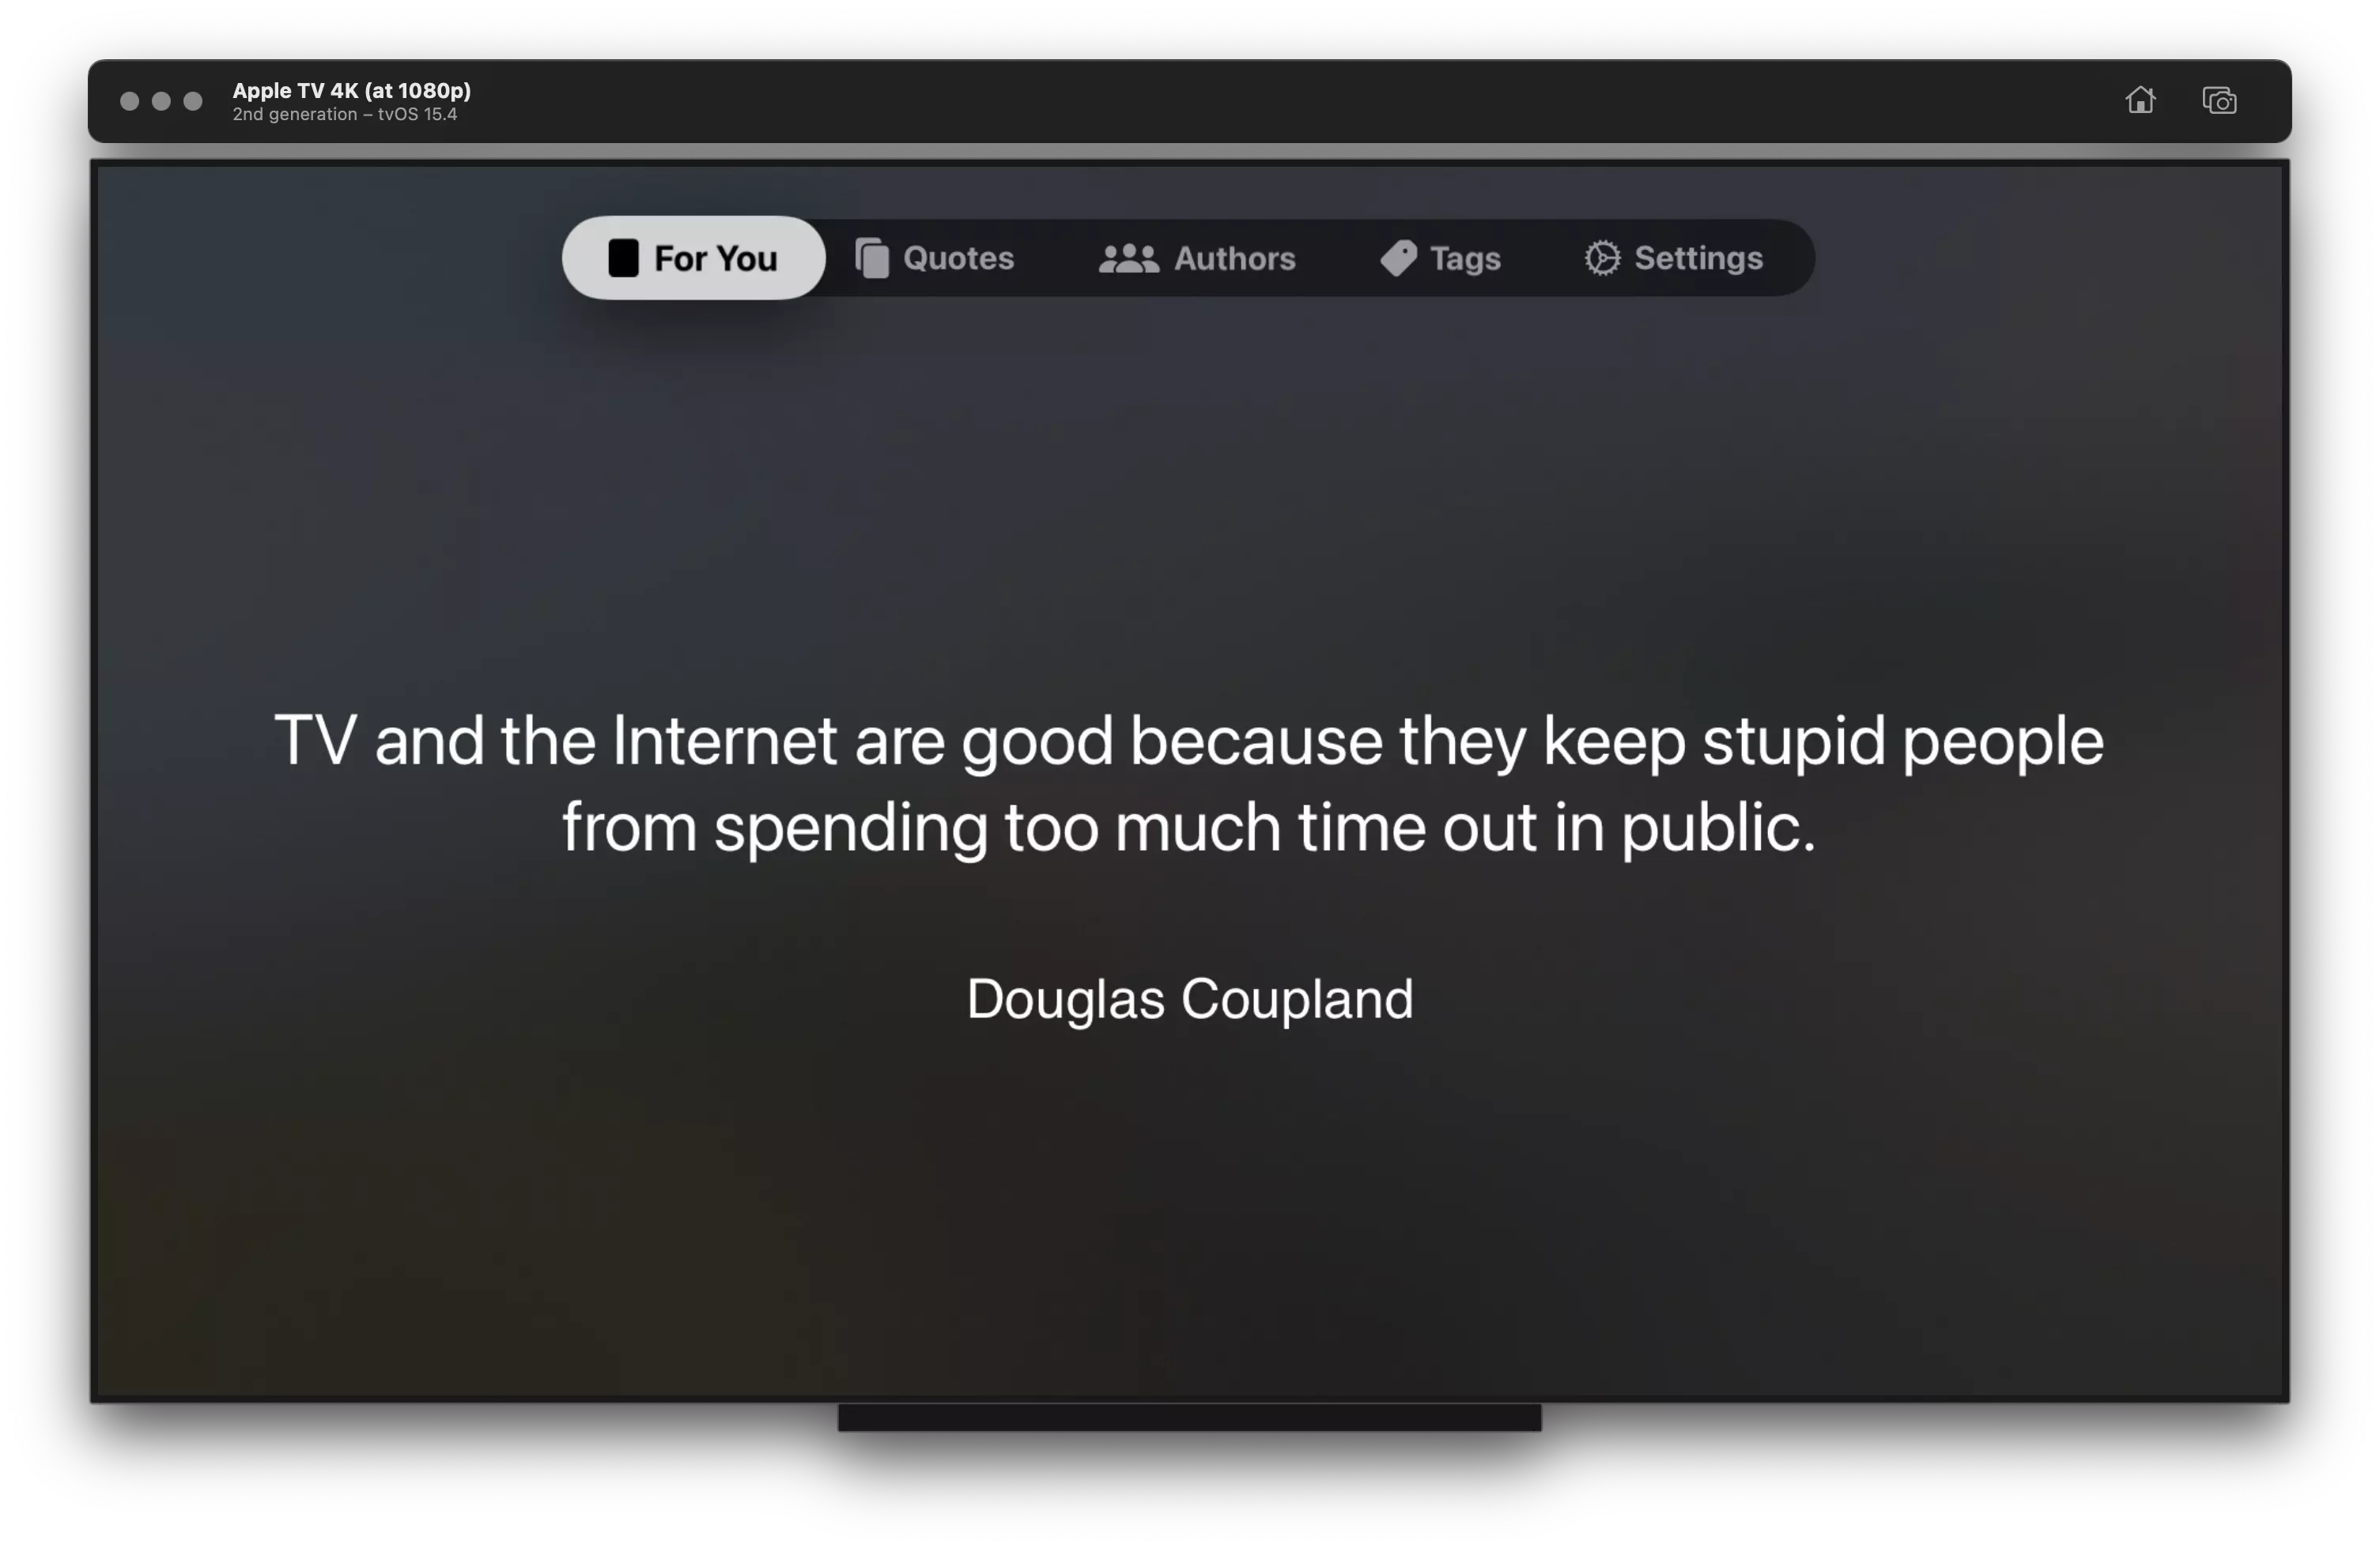
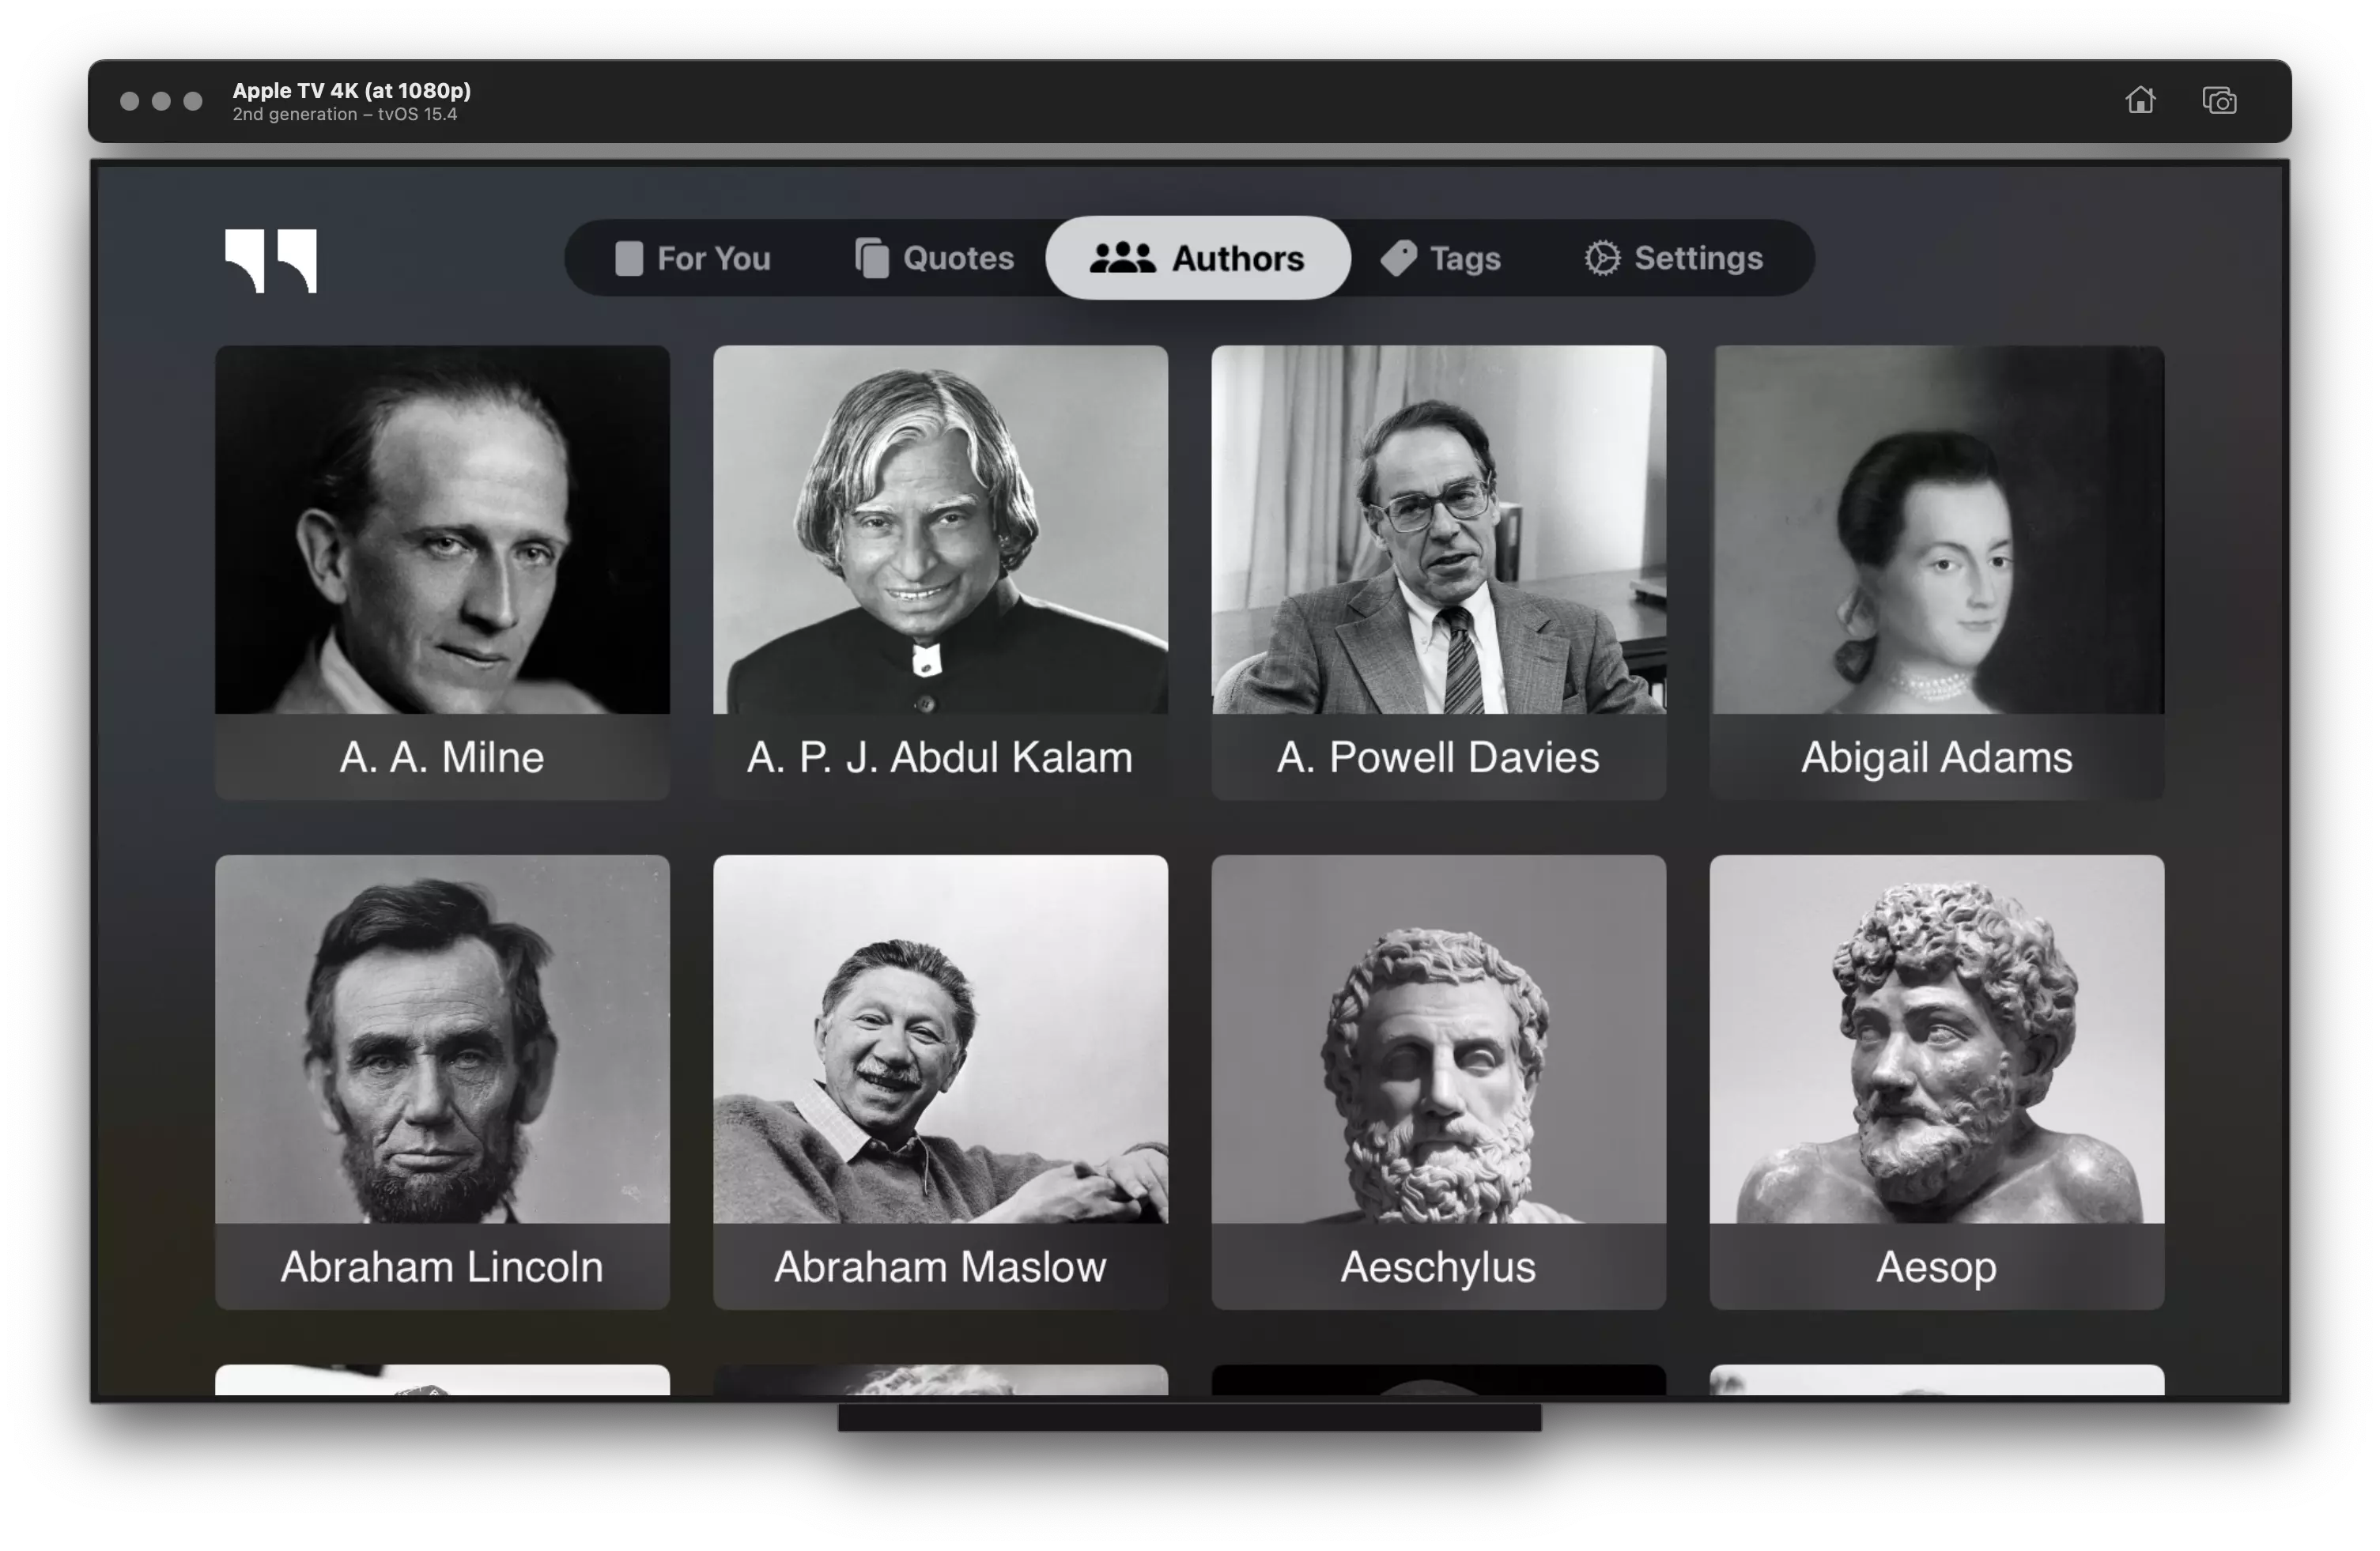
Here is an example of what I am using in Quoting TV app:
 struct ContentView: View {
    @StateObject private var viewModel = MainViewModel()

    var body: some View {
        NavigationView {
            TabView(selection: $viewModel.tabItemType) {
                QuotesView().tabItem(.quotes)

                AuthorsView().tabItem(.authors)

                RandomQuoteView().tabItem(.forYou)

                TagsView().tabItem(.tags)

                SettingsView().tabItem(.settings)
            }
        }
    }
}

extension View {
    func tabItem(_ item: TabItemType) -> some View {
        self
            .tabItem {
                Label(item.name, systemImage: item.image)
            }
            .tag(item)
    }
}
And here is what it looks like:

Title and Toolbar
You can add a navigation title and items to your tab view or individual views. For example, I want to show the logon as the top navigation item:
struct ContentView: View {
    @StateObject private var viewModel = MainViewModel()

    var body: some View {
        NavigationView {
            TabView(selection: $viewModel.sheetDestination) {
            	// Views
            }
            .navigationTitle("")
            .toolbar {
                ToolbarItem(placement: .navigationBarLeading) {
                    Image("LaunchIcon")
                        .resizable()
                        .scaledToFit()
                        .frame(maxWidth: 80)
                        .padding(.bottom, 90)
                        .padding(.leading, 32)
                }
            }
        }
    }
}

I am not sure if it is a bug or if I am doing it wrong, changing the tabs makes the item disappear. If I individually add .navigationTitle(“”) on the views, it works for some views but doesn’t want for others. If you have implemented something similar successfully, do let me know!
Conclusion
While the initial impressions with SwiftUI’s support for tvOS haven’t been great (probably due to the lack of resources?), I am still looking forward to experimenting with the large screen.
Tag @rudrankriyam on Twitter if you have experience working with tvOS and want to spread some knowledge around!
Thanks for reading, and I hope you’re enjoying it!
Exploring Freelancing
Navigate freelancing as a developer; find clients, manage contracts, ensure timely payment, and learn from experiences!


