
Exploring Freelancing
Navigate freelancing as a developer; find clients, manage contracts, ensure timely payment, and learn from experiences!
Exploring MusicKit
I wrote this book to fill in the gap for the documentation, filled with examples so that you do not have to spend time experimenting yourself.
I hope this book provides value to you and your app, and you enjoy working with MusicKit and integrating Apple Music into your app!
Use the discount code “early” for a massive 75% discount!
In MusicKit for Swift, Apple provides us with a MusicPlayer object that our app uses to play music. It has three kinds of enumerations -
PlaybackStatus- The music player playback status modes.RepeatMode- The repeat modes for the music player.ShuffleMode- The shuffle modes for the music player.
In this post, we’ll explore PlaybackStatus and how we can observe it in our app.
PlaybackStatus is an enum that contains six cases -
- stopped
- playing
- paused
- interrupted - cases when there’s an incoming call. It automatically resumes playing after the call.
- seekingForward
- seekingBackward
The MusicPlayer also exposes a State class, which is an ObservableObject. We observe the properties of the music player such as playbackStatus, playbackRate, repeatMode and shuffleMode.
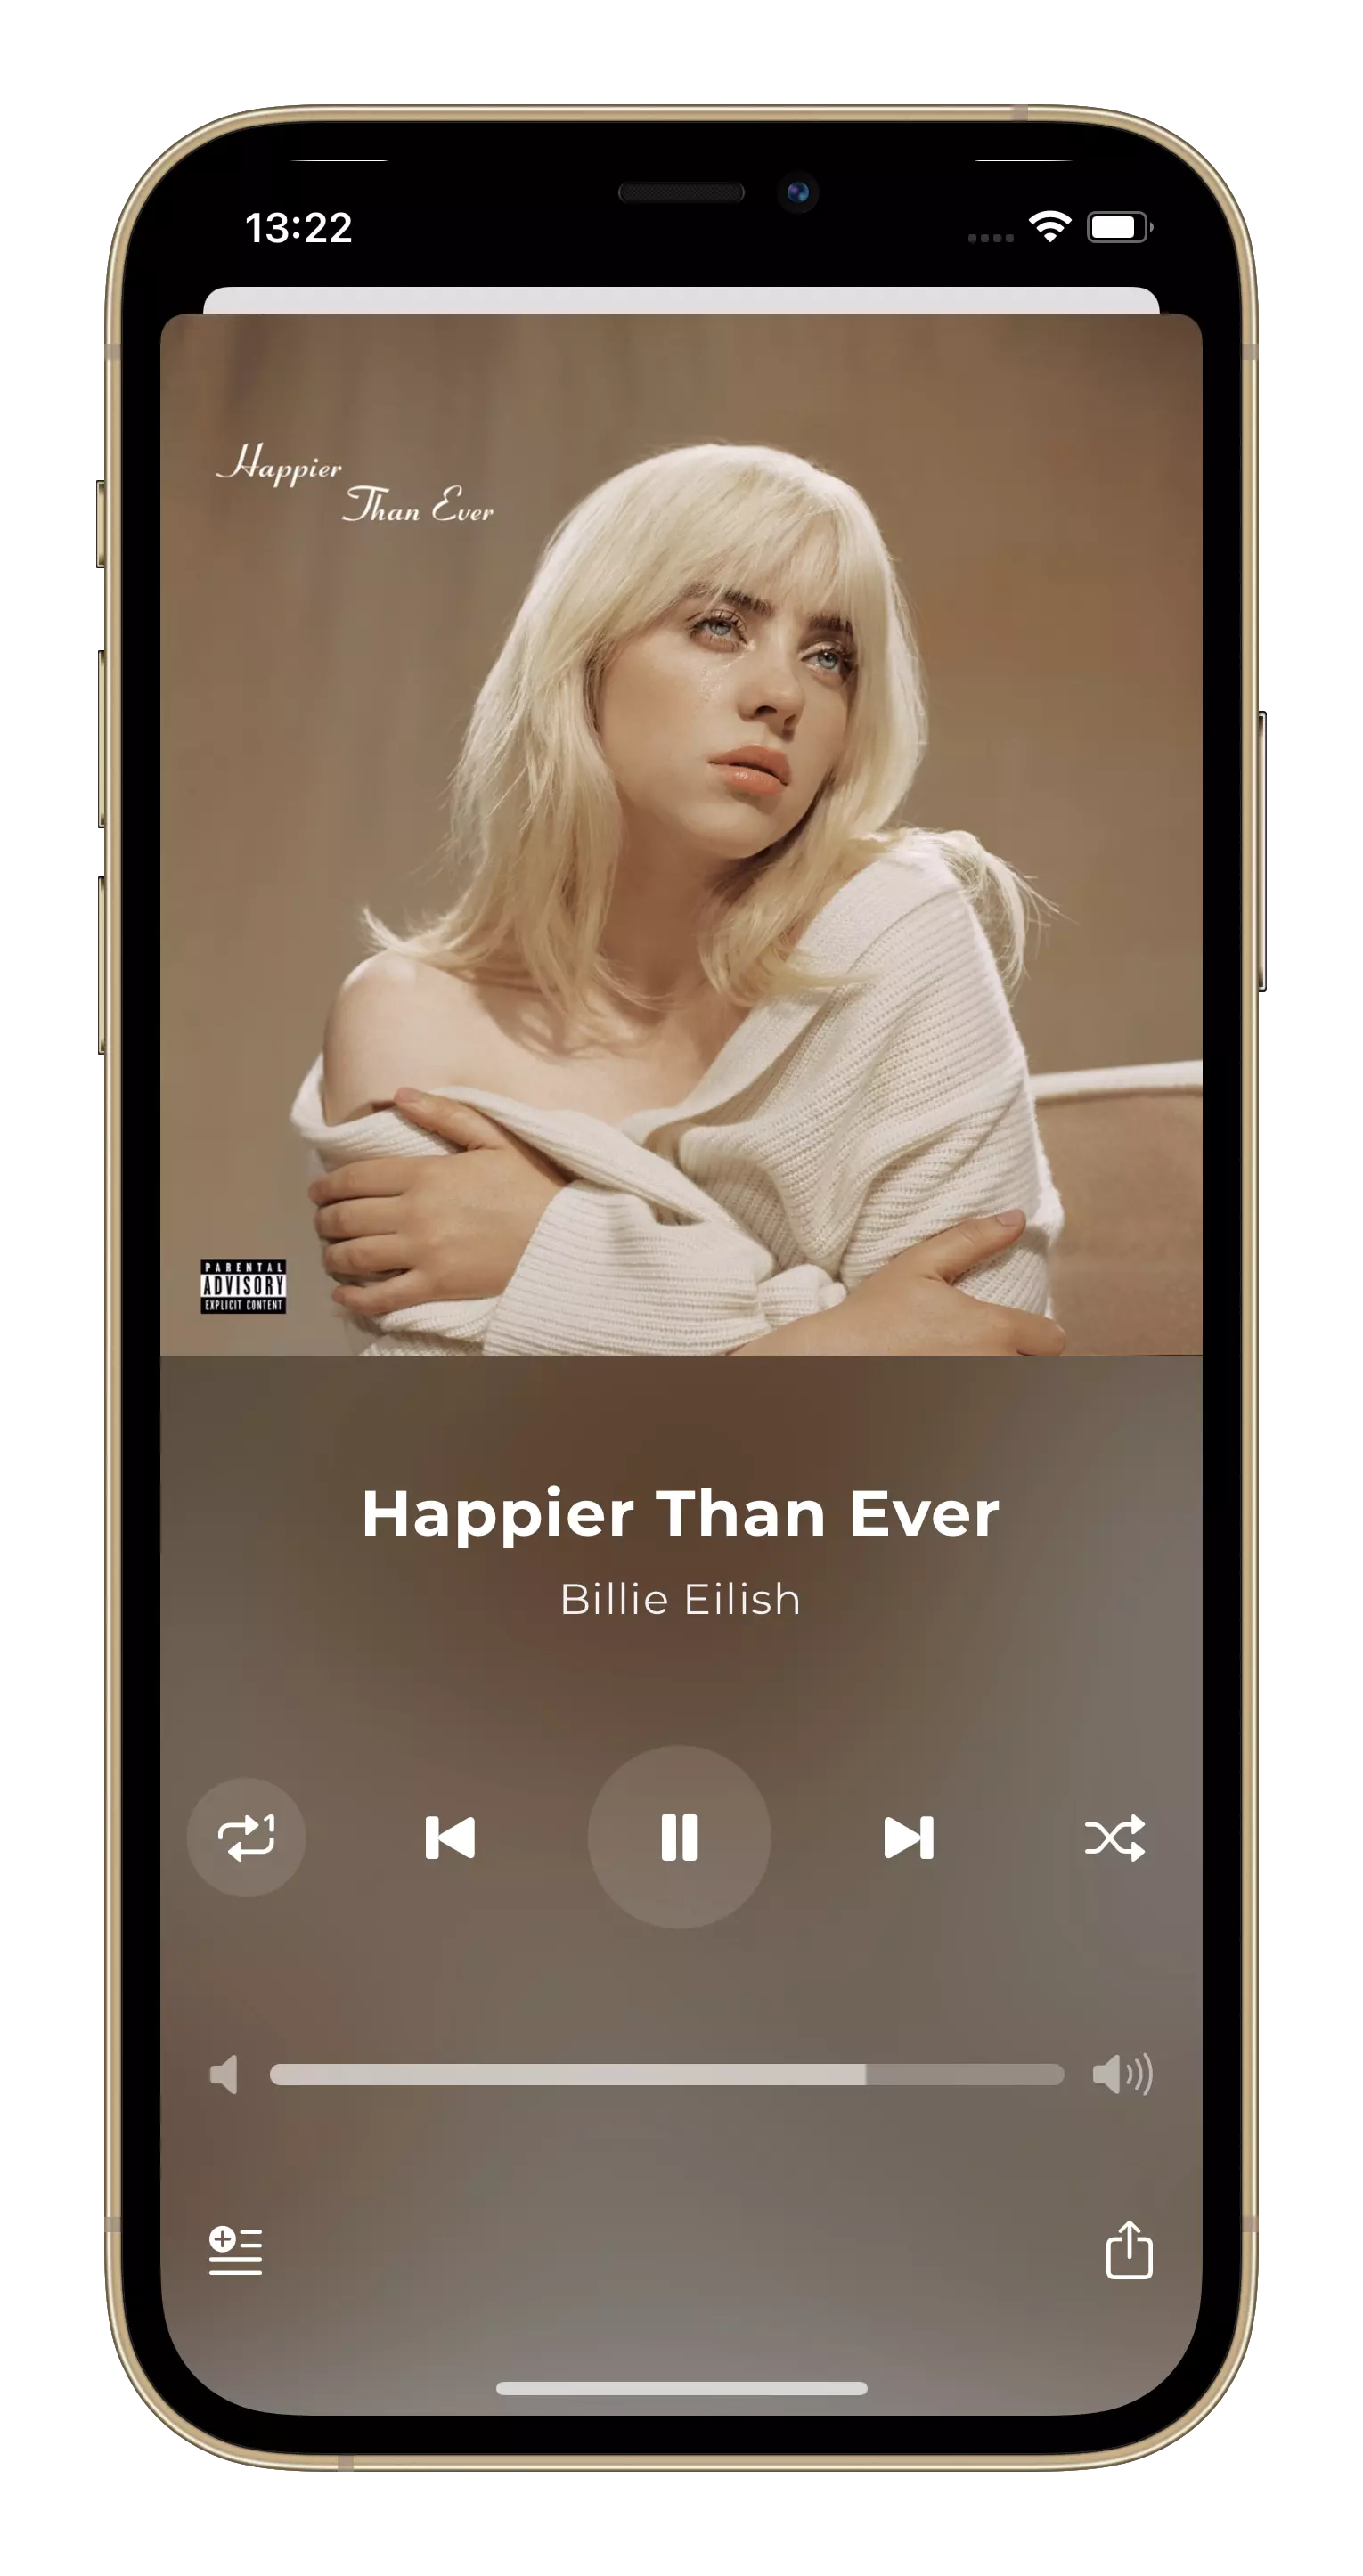
If you take the example of Apple Music, whenever you take your earphones off your ears, the music stops playing, and the app updates the interface accordingly. To achieve something similar in my app, Musadora, I observed MusicPlayer.PlaybackStatus in the now playing bar and view.
@ObservedObject private var state = ApplicationMusicPlayer.shared.state
In the NowPlayingPrimaryControlsView, I add a button for the play and pause button -
PlayButton(isPlaying: state.playbackStatus == .playing) {
    state.playbackStatus == .playing ? viewModel.pause() : viewModel.play()
}
where PlayButton is -
struct PlayButton: View {
    var isPlaying: Bool
    var font: Font = .title2
    var padding: CGFloat = 20

    var action: () -> ()

    var body: some View {
        Button(action: action) {
            Image(systemName: isPlaying ? "pause.fill" : "play.fill")
                .font(font)
                .padding(padding)
                .background(Circle().opacity(0.1))
        }
        .accentColor(.white)
    }
}
The same button is used in NowPlayingBar -
PlayButton(isPlaying: state.playbackStatus == .playing, font: .title3, padding: 15) {
    state.playbackStatus == .playing ? viewModel.pause() : viewModel.play()
}
.padding(.trailing)
Based on the playbackStatus, the play and pause image change. To have one single source of truth, instead of having my own isPlaying boolean value in the view model, I rely on the playbackStatus itself.
In every case except when the player is playing, I want to pause the player and display the pause image. Hence, I only check if the playbackStatus is equal to playing or not.
Now, if you open the control centre, and pause the music, it is automatically reflected in the music player, or if you take out your AirPods, the state changes automatically.
I find it amazing that I was able to implement this with only a few lines of code.
Exploring Freelancing
Navigate freelancing as a developer; find clients, manage contracts, ensure timely payment, and learn from experiences!