Exploring Freelancing
Navigate freelancing as a developer; find clients, manage contracts, ensure timely payment, and learn from experiences!
Exploring MusicKit
I wrote this book to fill in the gap for the documentation, filled with examples so that you do not have to spend time experimenting yourself.
I hope this book provides value to you and your app, and you enjoy working with MusicKit and integrating Apple Music into your app!
Use the discount code “early” for a massive 75% discount!
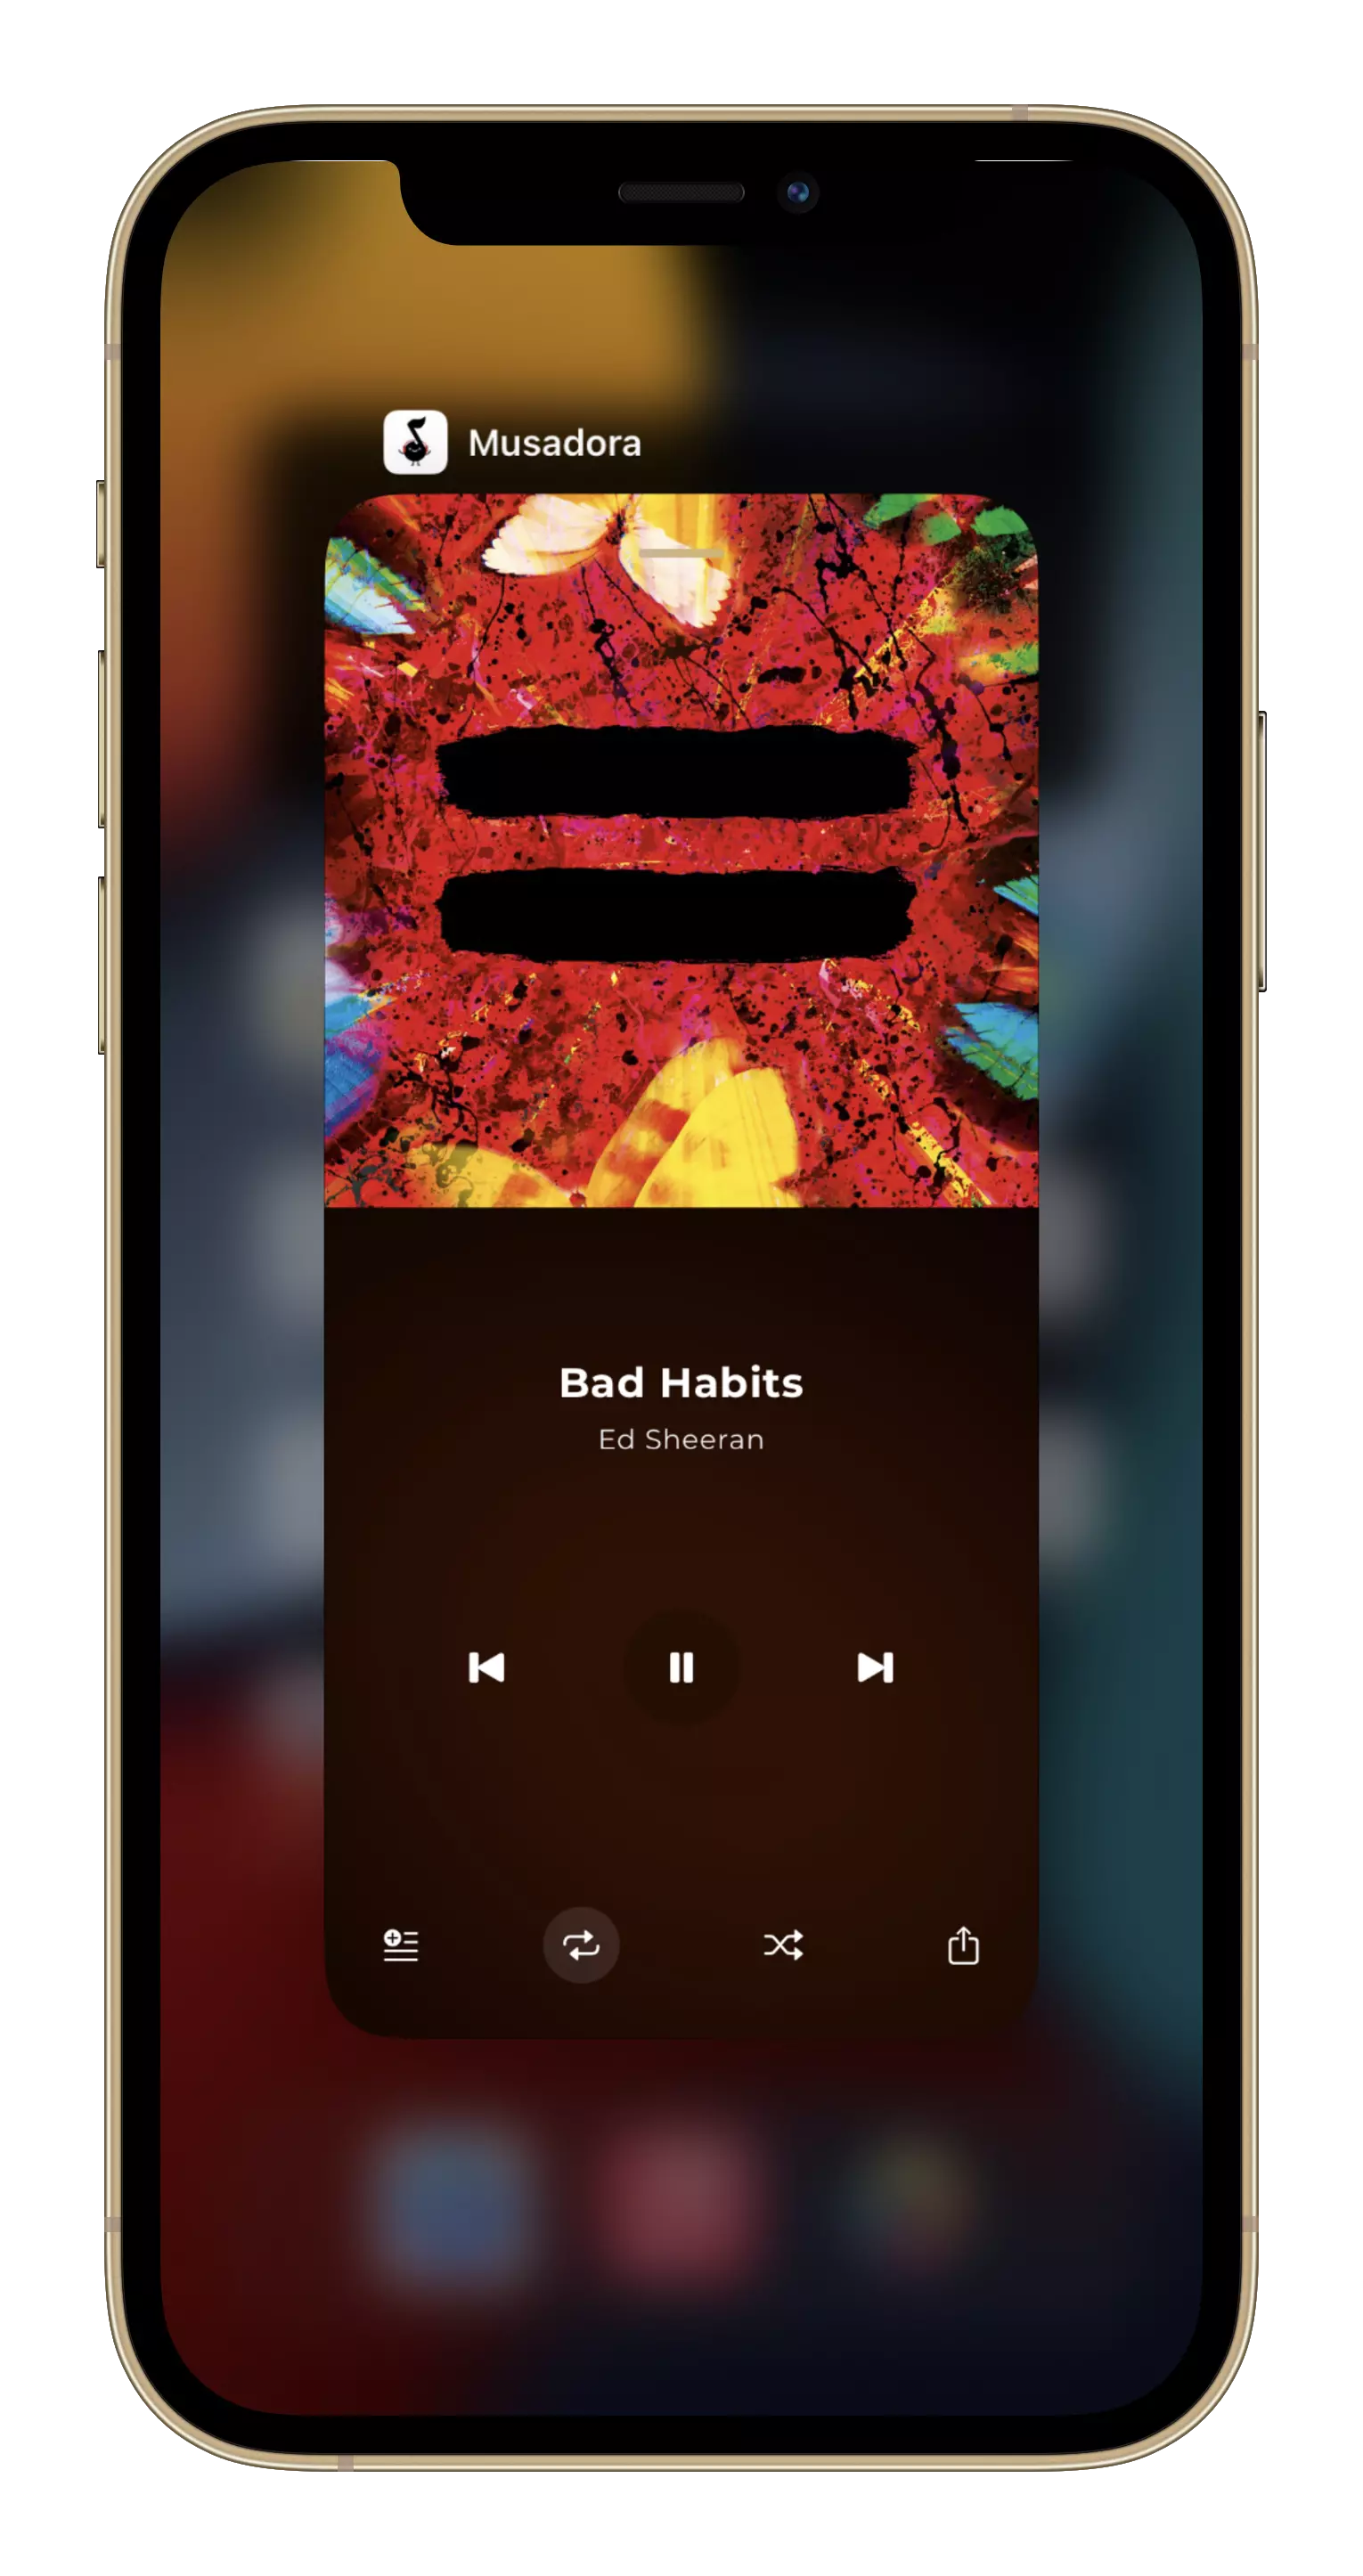
After a hiatus, I started working on Musadora again, my daily driver Apple Music app. I got carried away creating the gradient background for the now playing screen.
Apple Music has this animated gradient background that used to be more vibrant back in iOS 13 but only on the lyrics screen. Now, it is on the now playing screen too.
Resources
There are many resources out there that emulate the gradient effect. The closest one out there is this gist by Christian.
You’ll find videos too like this one on Learn to Create Animated Blur Gradient Background in SwiftUI.
Artwork
The Artwork structure of MusicKit provides you with backgroundColor, the average background color of the image. However, one color isn’t enough to get the animation effect. There are four other colors too but related to the text:
primaryTextColorsecondaryTextColortertiaryTextColorquaternaryTextColor
After experimentation, I realized that these wouldn’t help create a blurred animated gradient background. Depending on the text color, they’re either too light or too dark.
Color Manipulation
The second step was finding a way to get dominant colors from the image. Instead of reinventing the wheel, I found fetching the dominant colors using ColorKit a better option.
I went with a simple solution to use a LinearGradient and provide it with the colors from the artwork image.
struct AnimatedBackground: View {
    @State private var start = UnitPoint(x: 0, y: 0)
    @State private var end = UnitPoint(x: 0, y: 0)

    private let timer = Timer
        .publish(every: 1, on: .main, in: .default)
        .autoconnect()

    var colors: [Color]

    var body: some View {
        LinearGradient(colors: colors, startPoint: start, endPoint: end)
            .blur(radius: 200)
            .onReceive(timer) { _ in
                withAnimation(Animation.easeInOut(duration: 30).repeatForever()) {
                    start = randomPoint()
                    end = randomPoint()
                    start = randomPoint()
                    end = randomPoint()
                }
            }
    }

    private func randomPoint() -> UnitPoint {
        let x = CGFloat.random(in: -1...1)
        let y = CGFloat.random(in: -1...1)

        return UnitPoint(x: x, y: y)
    }
}
Artwork From Queue
While Artwork gives you the correct image URL, I use the artwork from the current entry of the playback queue for the application music player.
@ObservedObject private var queue = ApplicationMusicPlayer.shared.queue

var body: some View {
    NowPlayingBackgroundView(artwork: queue.currentEntry?.artwork)
}
This entry has an artwork instance property that works well with ArtworkImage but to create a UIImage from which the dominant colors are extracted; you do another network call.
struct NowPlayingBackgroundView: View {
    var artwork: Artwork?

    @State private var colors: [Color] = []

    var body: some View {
        AnimatedBackground(colors: colors)
            .task {
                do {
                    guard let artworkURL = artwork?.url(width: 640, height: 640) else { return }

                    let (imageData, _) = try await URLSession.shared.data(from: artworkURL)

                    guard let image = UIImage(data: imageData) else { return }

                    self.colors = try image.dominantColors().map { Color(uiColor: $0) }
                } catch {
                    print(error)
                }
            }
    }
}
Running the app, the background has an animated gradient:

Conclusion
While the current solution is far from what I’ve in mind, it’s a start. While writing this post, I read an article that does exactly what I envision for Musadora:
SwiftUI Aurora Background Animation by Matt Waller
Tag @rudrankriyam on Twitter if you have a better solution and want to share it!
Thanks for reading, and I hope you’re enjoying it!
Exploring Freelancing
Navigate freelancing as a developer; find clients, manage contracts, ensure timely payment, and learn from experiences!


